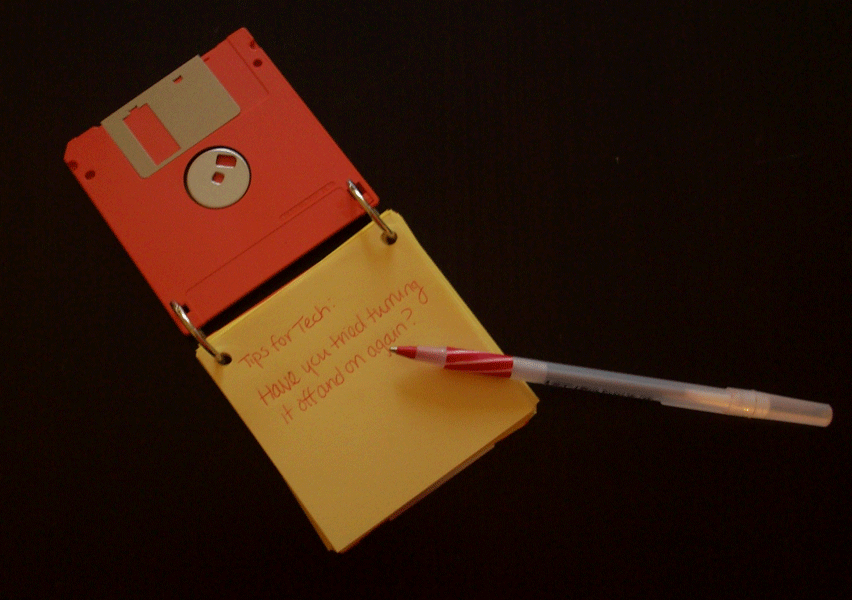
If you used a computer in the ’90s, chances are you used floppy disks to store your files at some point. I recently came across four mystery diskettes and after getting the files off them (which took a trip to the archival team at the University of Texas at Austin Library–ha!) I wasn’t sure what to do with the disks. Were they recyclable? Turns out they were, in and in a really fun way. In fact, I might keep a lookout for other disks in the future to make more of these low-tech notepads.
Nothing major here for supplies needed! The only thing you would probably need scout would be the book rings, which you can get a 16-pack of at Staples for $3.49; upgrading to colored rings costs an extra two dimes.
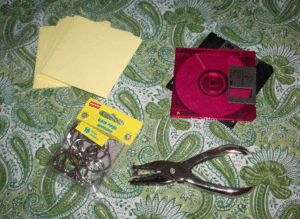
Supplies:
- 2 3.5″ HD floppy disks (diskettes)
- Hole punch
- Paper
- Book rings (available at office supply stores)
The first step is to chop up some paper to 3.5″x3.5″ inch. I used my old school paper guillotine for this, as it seemed fitting to at least put some element of danger into this otherwise sedate craft project.
 The second step is one that will be familiar to anyone who ever used the write-protect tab on their diskette. This tab enabled the floppy disk to be switched from write-protected to editable and back; for this craft, make sure the tab is in the top position, creating a hole. If you find your diskette is missing this tab or a coordinating hole on the other side (rare but it happens), you will have to resort to drilling a hole. However, I’m going to go out on a limb and guess that most people that are still rockin’ diskettes are rockin’ a set of them to choose from. Or at least they will be able to find a drill somewhere in their hoardings.
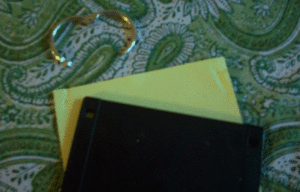 Next, you’ll want to make a template for the holes for the paper. I did this quickly by pushing the sharp end of an open book ring into a piece of paper through each of the diskette’s holes. I then hole punched the same piece of paper, careful to make sure that I used the marks I had made as the outside edge of the hole-punched holes, not the center–otherwise, your hole punches will be too close to the edge of the paper.
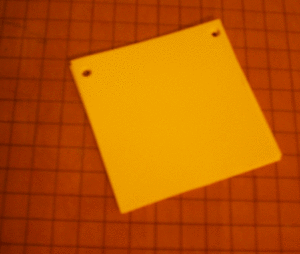 Now, the more-boring part. Once I had this template, I used it to punch the rest of the papers. Tip: if you find it hard to line up your new hole-punched holes with the template, turn the hole puncher over in your hand; that will allow you to line it up more precisely with the actual punching die. Go nuts and make as many papers here as you want to shove into your notepad (extras can be refills for later).
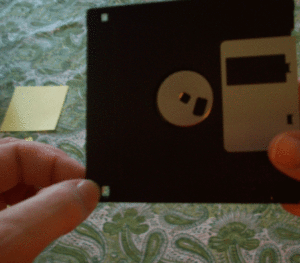
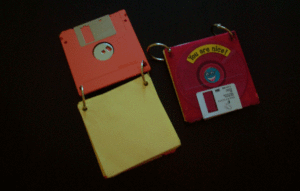
Final step: assemble and decorate as needed! You can put the disks facing in or out, decorate them with stickers (as my five-and-a-half year-old retro-nerd in training son has done here) or generally bling them out as you see fit. Then, rock them at the local hackerspace to take notes, or use them ironically with a fountain pen while sitting in SxSWi panels next spring. May the force be with you.
Have you reused any old tech accessories in interesting ways? If so, how?
Hands up for an upcycle,
Freckles

